Running Link Love

Happy Monday!  This week I am in taper mode for my second half marathon on Sunday.  Since I’m in a running mode right now, I thought I would share some things that have helped me out recently.

I would not consider myself an experienced or a very serious runner, because I’ve never been very fast, and my interest has varied over the past few years.  Sometimes I will run multiple times a week for a few months and sign up for charity races, and then other times I will only run when I’m out of other workout options.  I don’t think that my body was particularly made for running, I’m definitely working against the laws of physics.  But I keep trying to bend those laws and convince my body to run and run faster.

In the past few months there have been a few blog posts/articles that I have come across that have given me some great insight and tips into the running world.

  1. Teri over at A Foodie Stays Fit, posted about her methods for increasing her running speed. I found this post very helpful, and while I’ve dabbled with running intervals in the past, it has inspired me to do it more regularly, and I have been seeing results on my longer steady state runs.
  2. I saw a link for this article about the golden rules for runners. It has a lot of great guidelines and suggestions that are so helpful for less experienced runners. It definitely helped me cut some corners rather than learning some lessons the hard way.  Things like how to dress for the weather, or how long to use your shoes, and many more.
  3. And even though I hate the treadmill, I do spend some time on it during the week because it’s a great training tool, especially to build speed.  The Skinny Runner, who I find hilarious, posted a link to this chart that does a little conversion for the incline on the treadmill.  When you run on an incline it obviously adds intensity so this chart shows you how the incline and pace you choose translates to a faster past without an incline. It’s hard to explain, just look at the chart.
  4. And lastly, if you’re in the Williamsburg area and you like running, you should sign up for the Yorktown Victory Run. It’s an 8 mile run from Newport News Park to the Yorktown Victory Monument and I’m the race director!  It’s a race that my business school organizes every year, and all of the proceeds go to Kidz’NGrief, a local charity that specializes in counseling children whole have lost a loved one.

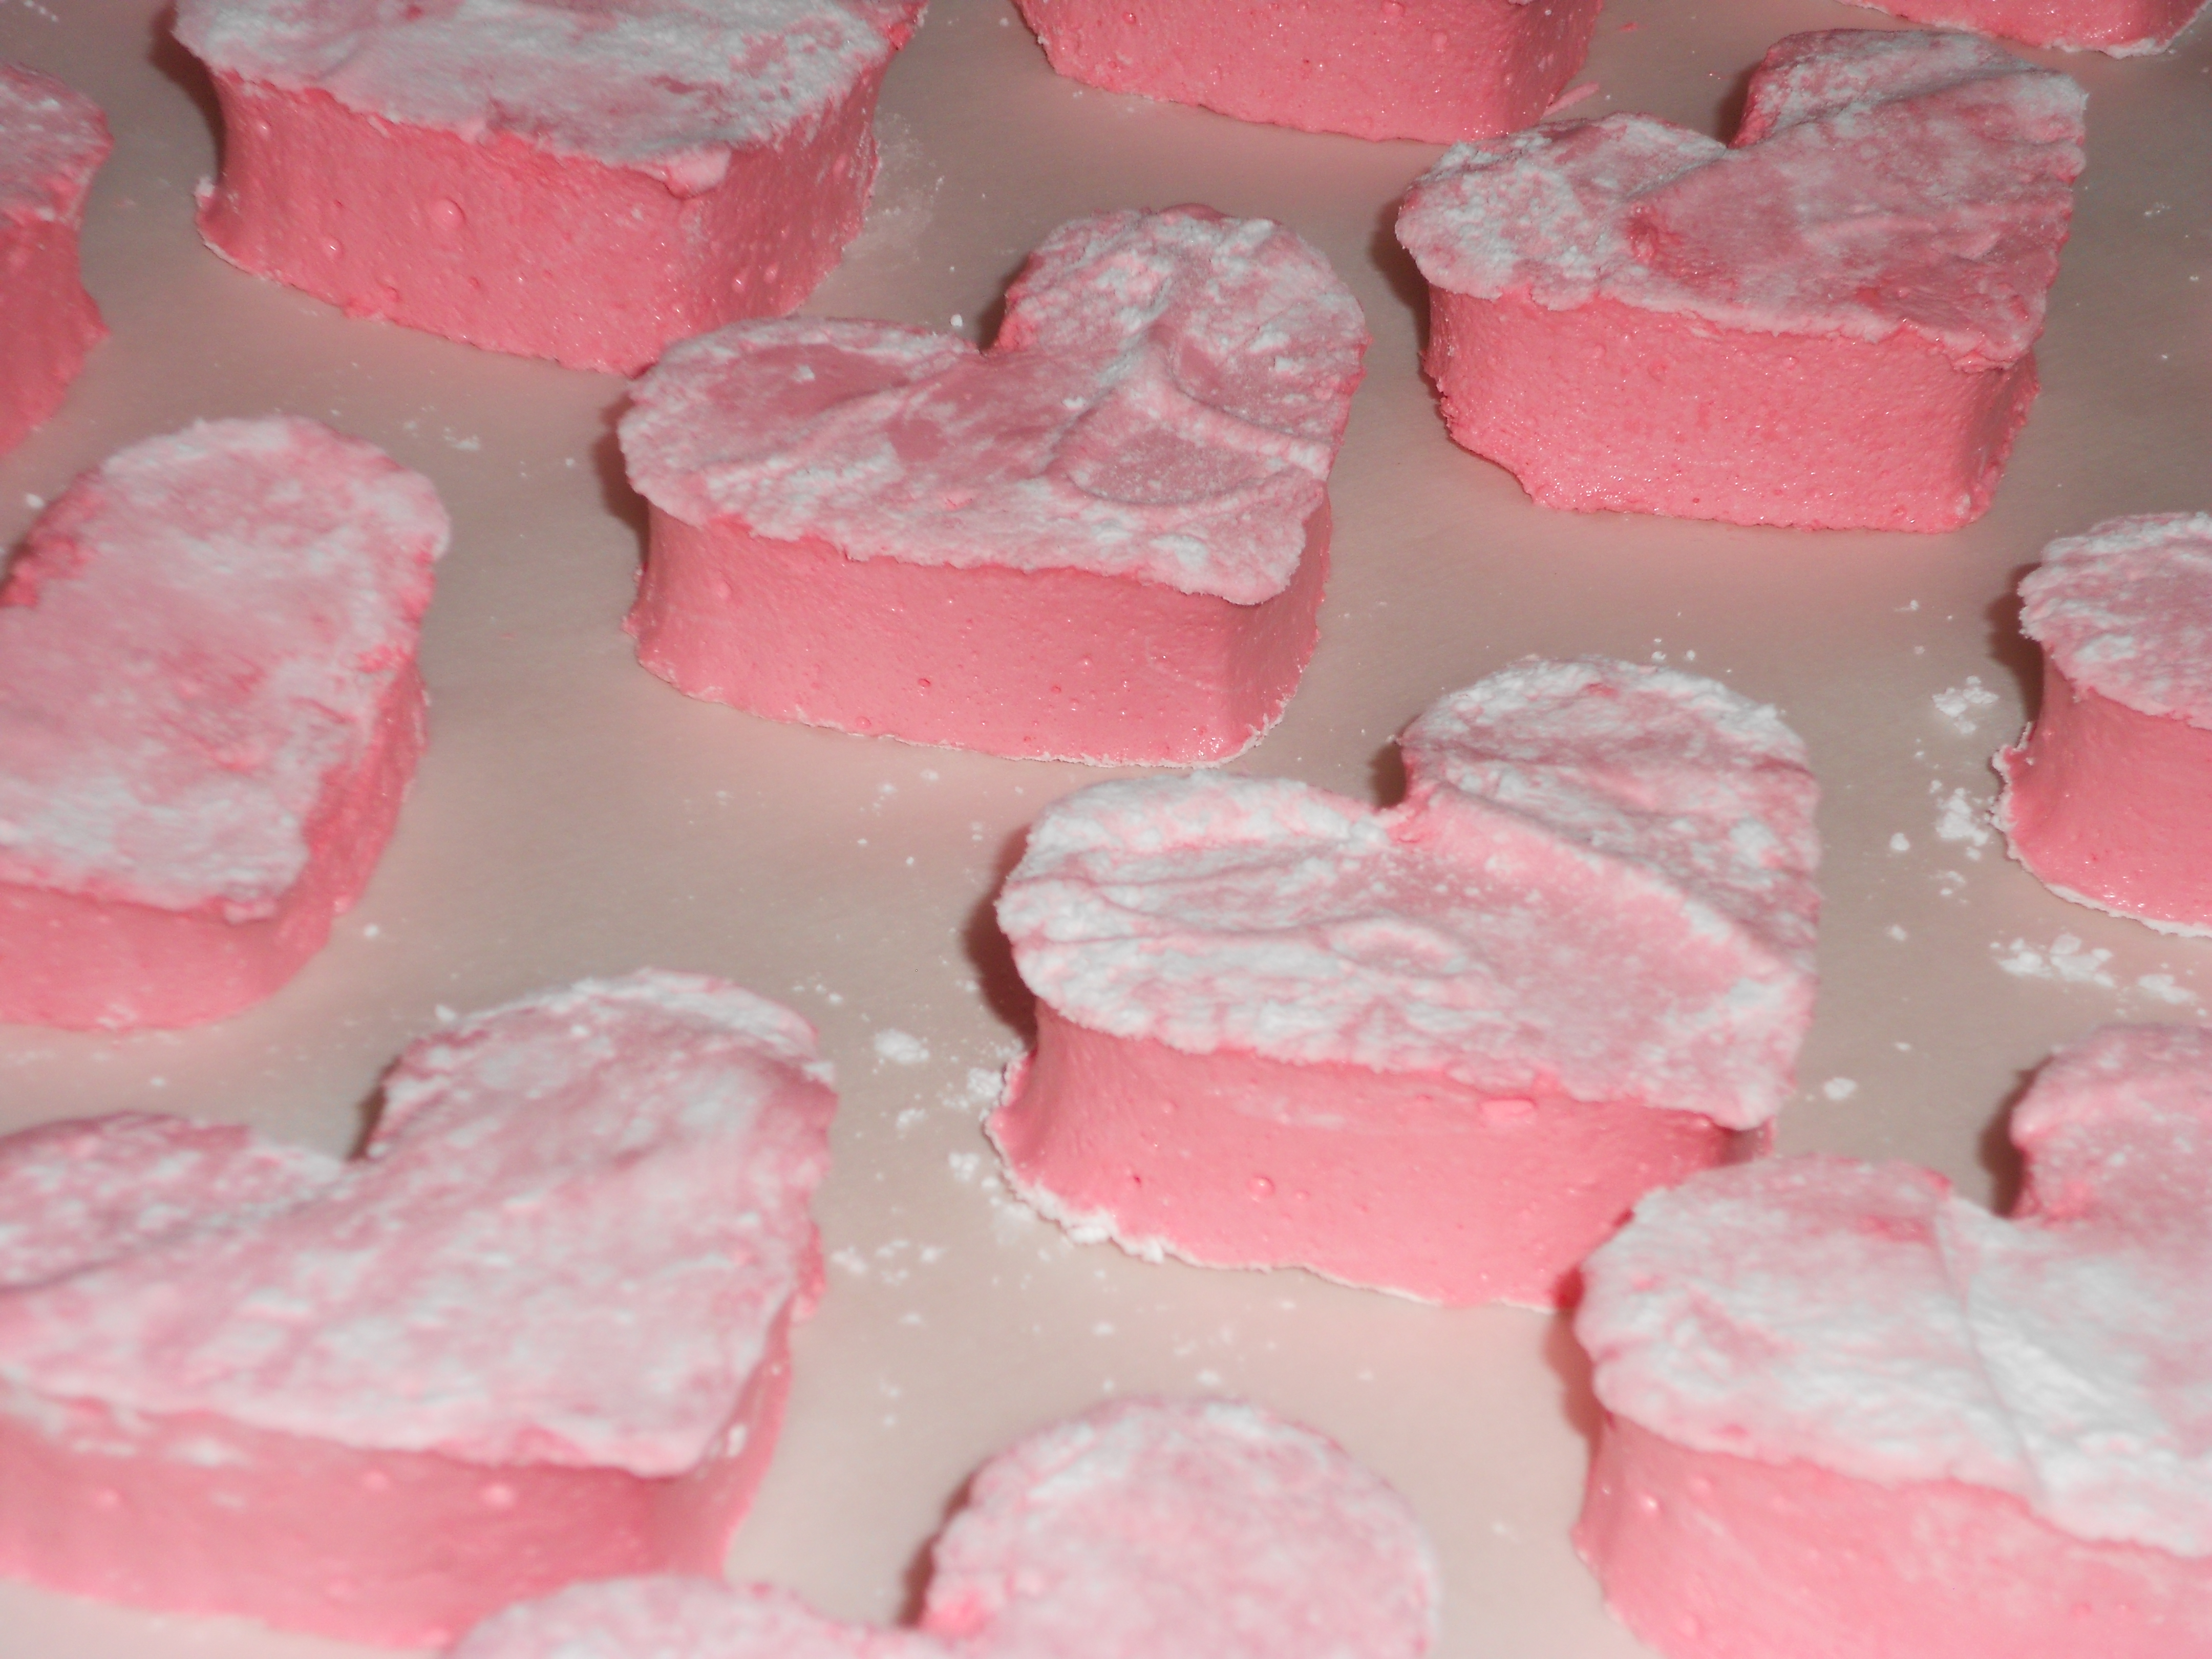
The groundhog said Spring is coming so lace up those sneakers and get outside! And when you get back from your run, you should probably make yourself one of these…

Quinoa Stuffed Bell Peppers

Since I’m not always crazy about meat, when I eat out at nicer restaurants I’m always curious to try their vegetarian option.  At many restaurants it’s simply a salad, or a standard veggie burger or eggplant parmesan.  Not my favorites.  To me, the vegetarian option is a great test for a restaurant, because I think it can really show their level of creativity and willingness to showcase certain ingredients.

The more creative menus are starting to have more complex vegetarian dishes involving some more interesting components.  I think one of the downfalls that I have encountered, however is the level of complexity.  Often an unscale vegetarian option might have two or three times the number of ingredients of most of the other options on the menu.  In my opinion this level of complexity often takes away from the overall success of the dish because there are more variables that might not succeed.

That being said, there was one relatively simple vegetarian dish I tried at Salt Creek Grille  (no longer on the menu) that inspired a recipe that I not make fairly regularly.  The dish at the restaurant was quinoa stuffed bell peppers that were simply red peppers filled with quinoa mixed with peices of mango, and covered in cheese.  Even though it was pretty simple, it just worked.  It was filling, fresh, healthy, and slighlty indulgent all at the same time.

In creating my variation on this dish I decided to bring in the veggies that I like the most.  I stuck with the concept of stuffing a bell pepper with quinoa, and topping it with cheese, but I added some other simple goodies.  It’s a great side dish and very easy to stick in the fridge and grab for a snack or a quick meal.

Quinoa Stuffed Bell Peppers

Ingredients

  • 5 medium bell peppers (1 diced, 4 with the top sliced off and the inside cleaned)
  • Olive Oil
  • 1 medium yellow onion diced
  • 2 tsp italian seasoning
  • 3 cloves garlic minced
  • 1 can diced tomatoes (15 oz)
  • 1 1/2 cups quinoa
  • 1 cup broccoli florets (fresh or frozen)
  • handful fresh spinach
  • 2 cups grated parmesan

Method

  1. Preheat the oven to 375 and bake the 4 bell peppers with the tops cut off for about 15 minutes until they are slightly softer but not too flimsy.
  2. Heat up a large saute pan on the stove over medium heat.  Add a couple tablespoons of olive oil and saute the diced onion.  After onions begin to get translucent, turn down heat slightly and add the minced garlic, diced bell pepper, and Italian seasoning.saute time
  3. Allow to cook for about 5 more minutes, then pour in the can of diced tomatoes and a cup of water.  Return heat to medium and allow the mixture to heat up, then add the uncooked quinoa.
  4. The quinoa will take about 15 minutes to cook through.  Towards the end of this process add the broccoli and fresh spinach.  When the quinoa is cooked through stir 1 cup of grated parmesan to the mixture.
  5. Turn the oven up to 400.  Portion the filling into the 4 bell peppers and top each with the remaining cup of parmesan.  Bake in the oven about 15-20 minutes until the cheese on top is melted and golden brown.
  6. Remove from oven, allow to cool for a few minutes and enjoy!yum!

Check One Off The List!

I’m not sure if you remember, but one of my goals for 2013 was to try some new cooking techniques.  One of the techniques I mentioned trying was making marshmallows. Mission accomplished, cross it off the list!

I decided it would be festive to make pink marshmallows for Valentines Day. And I was right, it is festive.  I looked around at some different recipes online. It’s tricky when you’re trying something new because there are a few different techniques or ingredients.  Some recipes call for powdered sugar, egg whites, or corn starch, but I went with a much simpler version from Ina Garten.

The recipe I used reminded me of my White Mountain Frosting debacle because there is a similar technique of combining corn syrup, water, and sugar in a saucepan and heating to 240 degrees.  While a little labor and time intensive, I was happy to learn that making marshmallows was not difficult.

Additionally, these were a tremendous crowd pleaser.  There’s something about a fresh marshmallow that will make your day that much better!  These are definitely worth the time and effort! (by the way, these have “dry out” overnight, so make sure you budget your time)

Valentine Marshmallows

Yields 20-40 marshmallows depending on size, adapted from Ina Garten

Ingredients

  • 3 packets of unflavored gelatin
  • 1 cup light corn syrup
  • 1 ½ cups granulated sugar
  • 1 tsp vanilla extract
  • ¼ tsp salt
  • red food color gel (optional)
  • powdered sugar for dusting
  • 1 cup semi-sweet chocolate chips
  • 1 cup white chocolate chips

Method

  1. Prepare a 9 x 13 brownie pan with parchment and dust the bottom with powdered sugar.
  2. In a mixing bowl combine the gelatin with a ½ cup of water.  Allow the gelatin to “bloom” (I think it’s called) while you cook the other mixture.  Some recipes recommend a full half hour.gelatin blooming
  3. In a saucepan over medium heat, combine the corn syrup, sugar, and a half cup of water. After the sugar melts, turn the heat up to high, and cook until it reaches 240 degrees (use a candy thermometer).sauce pan
  4. Once the mixture has reached the correct temperature, remove from heat.  Use an electric hand or stand mixer to mix the gelatin on low as you pour in the warm mixture in very slowly.  Once the mixture has been completely poured in, mix it on high for about 15 minutes until the “fluff” is pretty thick.after 5 minutesafter 15 minutes
  5. Add vanilla, salt, and food coloring and mix until well distributed.now it's pink!
  6. Pour the batter into the prepared pan and use a spatula smooth it out.  This process will be a little sticky and difficult, but you will persevere.
  7. Dust the top of the fluff with powdered sugar (it is easy if you pass it through a sifter).  Allow the fluff to “dry out” overnight.setting overnight
  8. The next day, lift the large marshmallow out of the pan and place on a cutting board.  Use a knife or a cookie cutter to cut out the marshmallows. what to do with the scraps?looking good
  9. Microwave the semi-sweet chocolate chips for 30 seconds at a time until mostly melted.  Use a fork to stir the chocolate until smooth. Dip the marshmallows in the chocolate, and allow to dry.
  10. Microwave the white chocolate similarly and place in a pastry bag with a fine tip or a Ziplock bag with a small corner snipped off.  Once the semi-sweet chocolate has set, use the white chocolate to drizzle a design on top of the layer of chocolate.so pretty!
  11. Allow to set at room temperature or place in the freezer to speed up the process.  Enjoy!