Almond Joy Brownies: A Hershey Inspired Dessert

IMG_0932 IMG_0946

This month, I made a trip to Hershey’s Chocolate World in Hershey, PA on the way back from visiting my alma mater.  One of my memories as a child is going to Hershey Park in the summer to ride all the thrilling amusement rides and to visit Chocolate World.  The best part of Chocolate World was the ride inside that detailed the process of making Hershey’s chocolate.  As you walk into Chocolate World, you are blown away by the smell of chocolate emanating from the building.  The aroma is overwhelming and you become immersed into a magical world where nothing matters except all the chocolate treats that you can purchase there.  Needless to say, I went home with a goodie bag.

When i returned home, I felt the need to whip up my very own chocolate creation inspired by Milton Hershey himself.  I put a Hershey twist on brownies.  I used Pillsbury Dark Chocolate brownie mix and doctored it up to make Almond Joy Brownies.  I made the batter as stated on the box, then added 1/2 tsp of coconut extract, 1 tsp of almond extract, and 3/4 cup sliced almonds to the batter.

IMG_0948

I poured the batter in a 13×9 inch pan and then topped the batter with coconut flakes.  I used Toasted Coconut Chips from Creative Snacks Co.  This sample bag was given to me by one of my sales reps this summer.  If you use regular coconut, be sure to toast it in the oven before you top off the brownies.

IMG_0949

Bake the brownies as directed on the box.  The result is a twist on a classic and your dinner guests won’t be able to pass on dessert.  Top a brownie with the ice cream of your choice and hot fudge sauce to make an even more irresistible dessert.

IMG_0951

Check One Off The List!

I’m not sure if you remember, but one of my goals for 2013 was to try some new cooking techniques.  One of the techniques I mentioned trying was making marshmallows. Mission accomplished, cross it off the list!

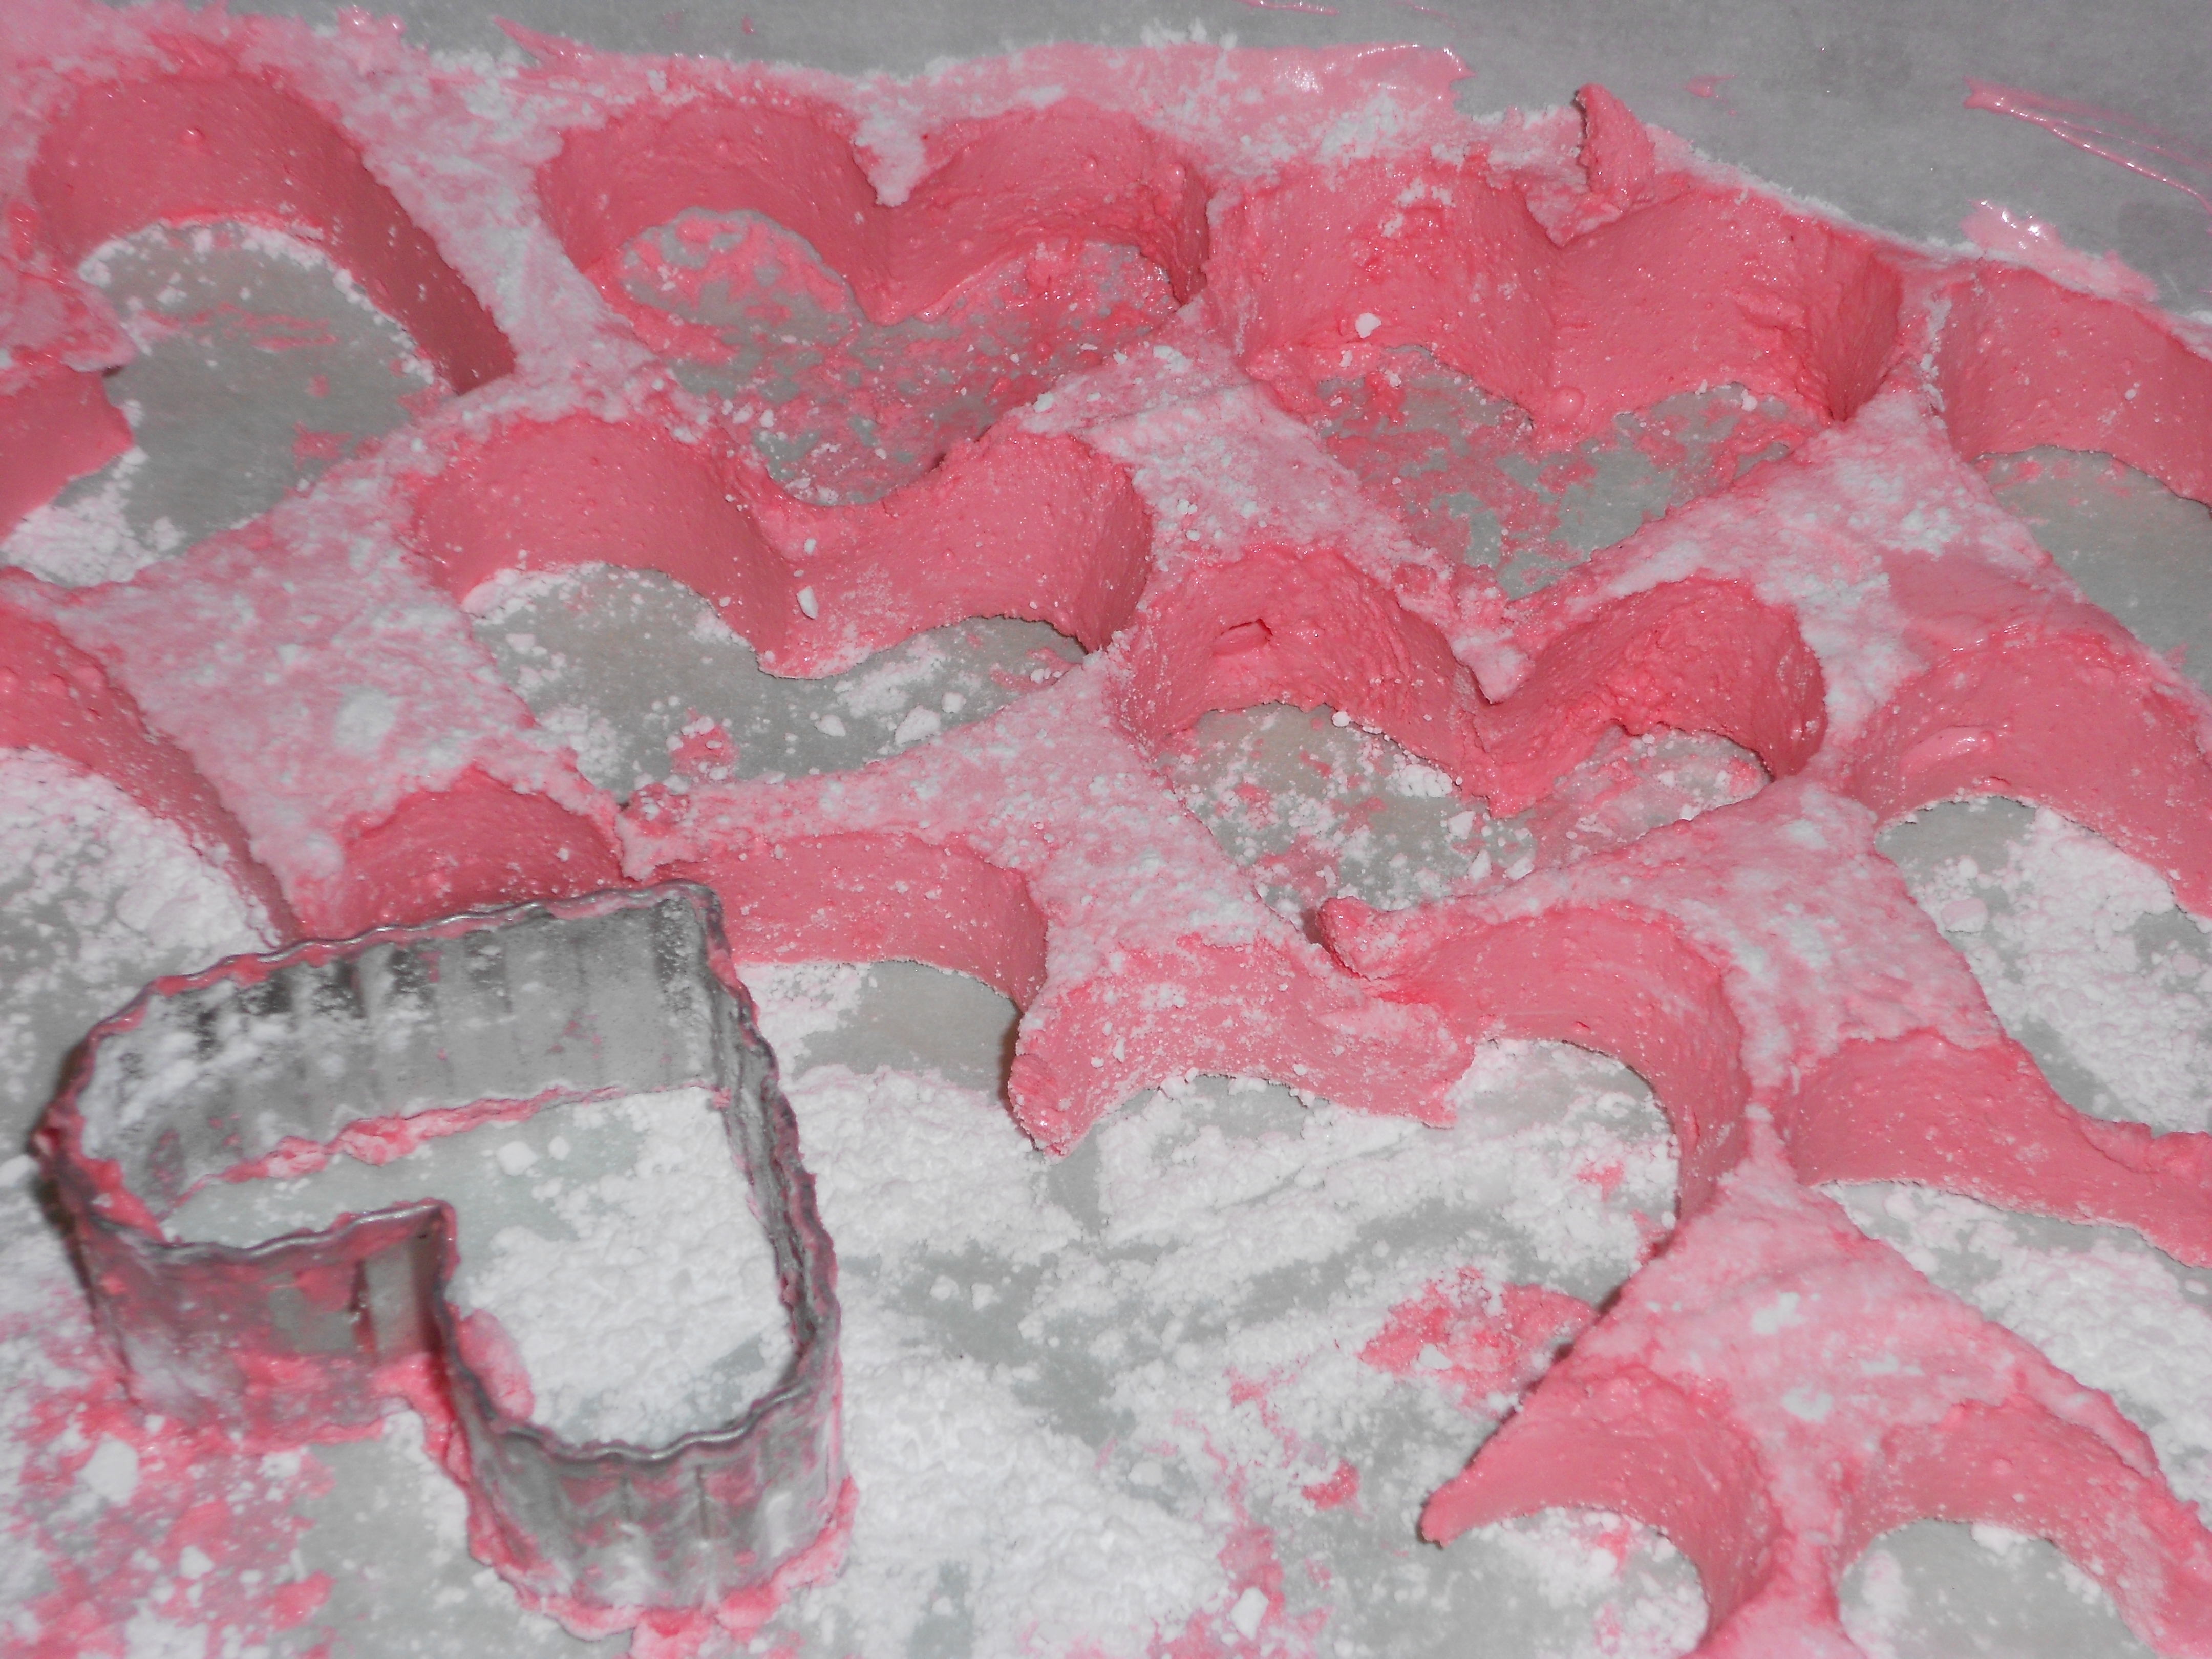
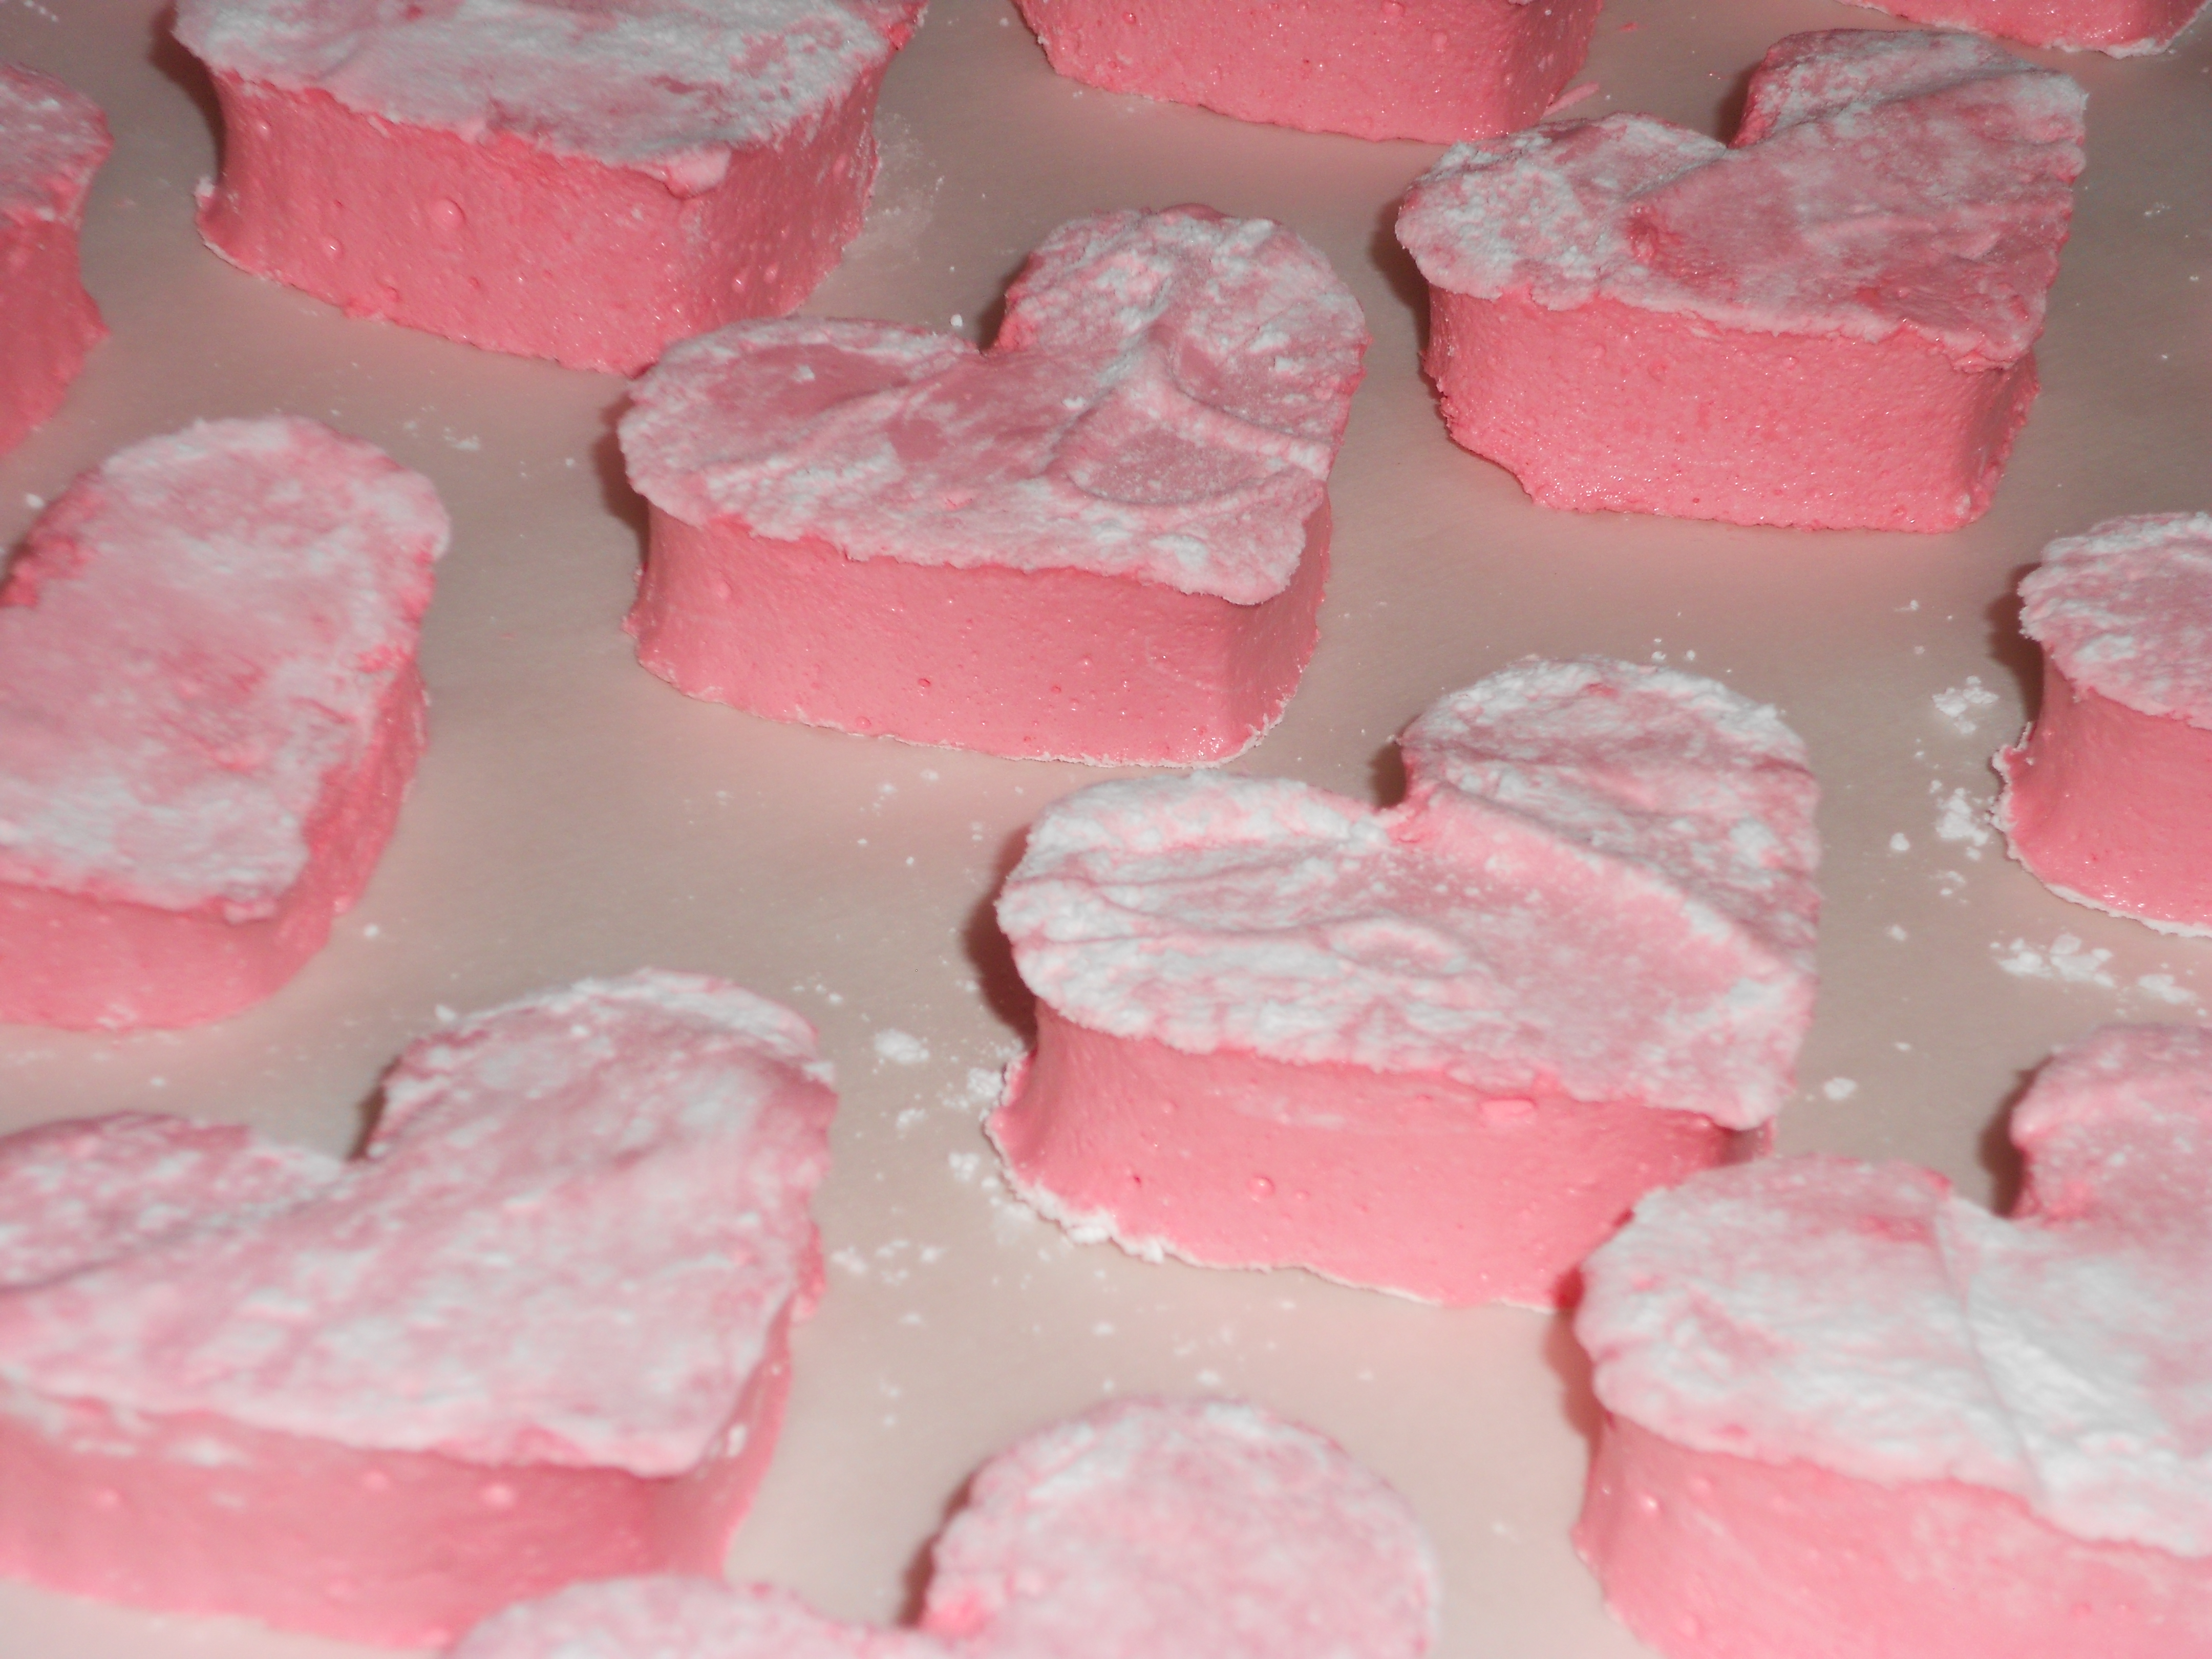
I decided it would be festive to make pink marshmallows for Valentines Day. And I was right, it is festive.  I looked around at some different recipes online. It’s tricky when you’re trying something new because there are a few different techniques or ingredients.  Some recipes call for powdered sugar, egg whites, or corn starch, but I went with a much simpler version from Ina Garten.

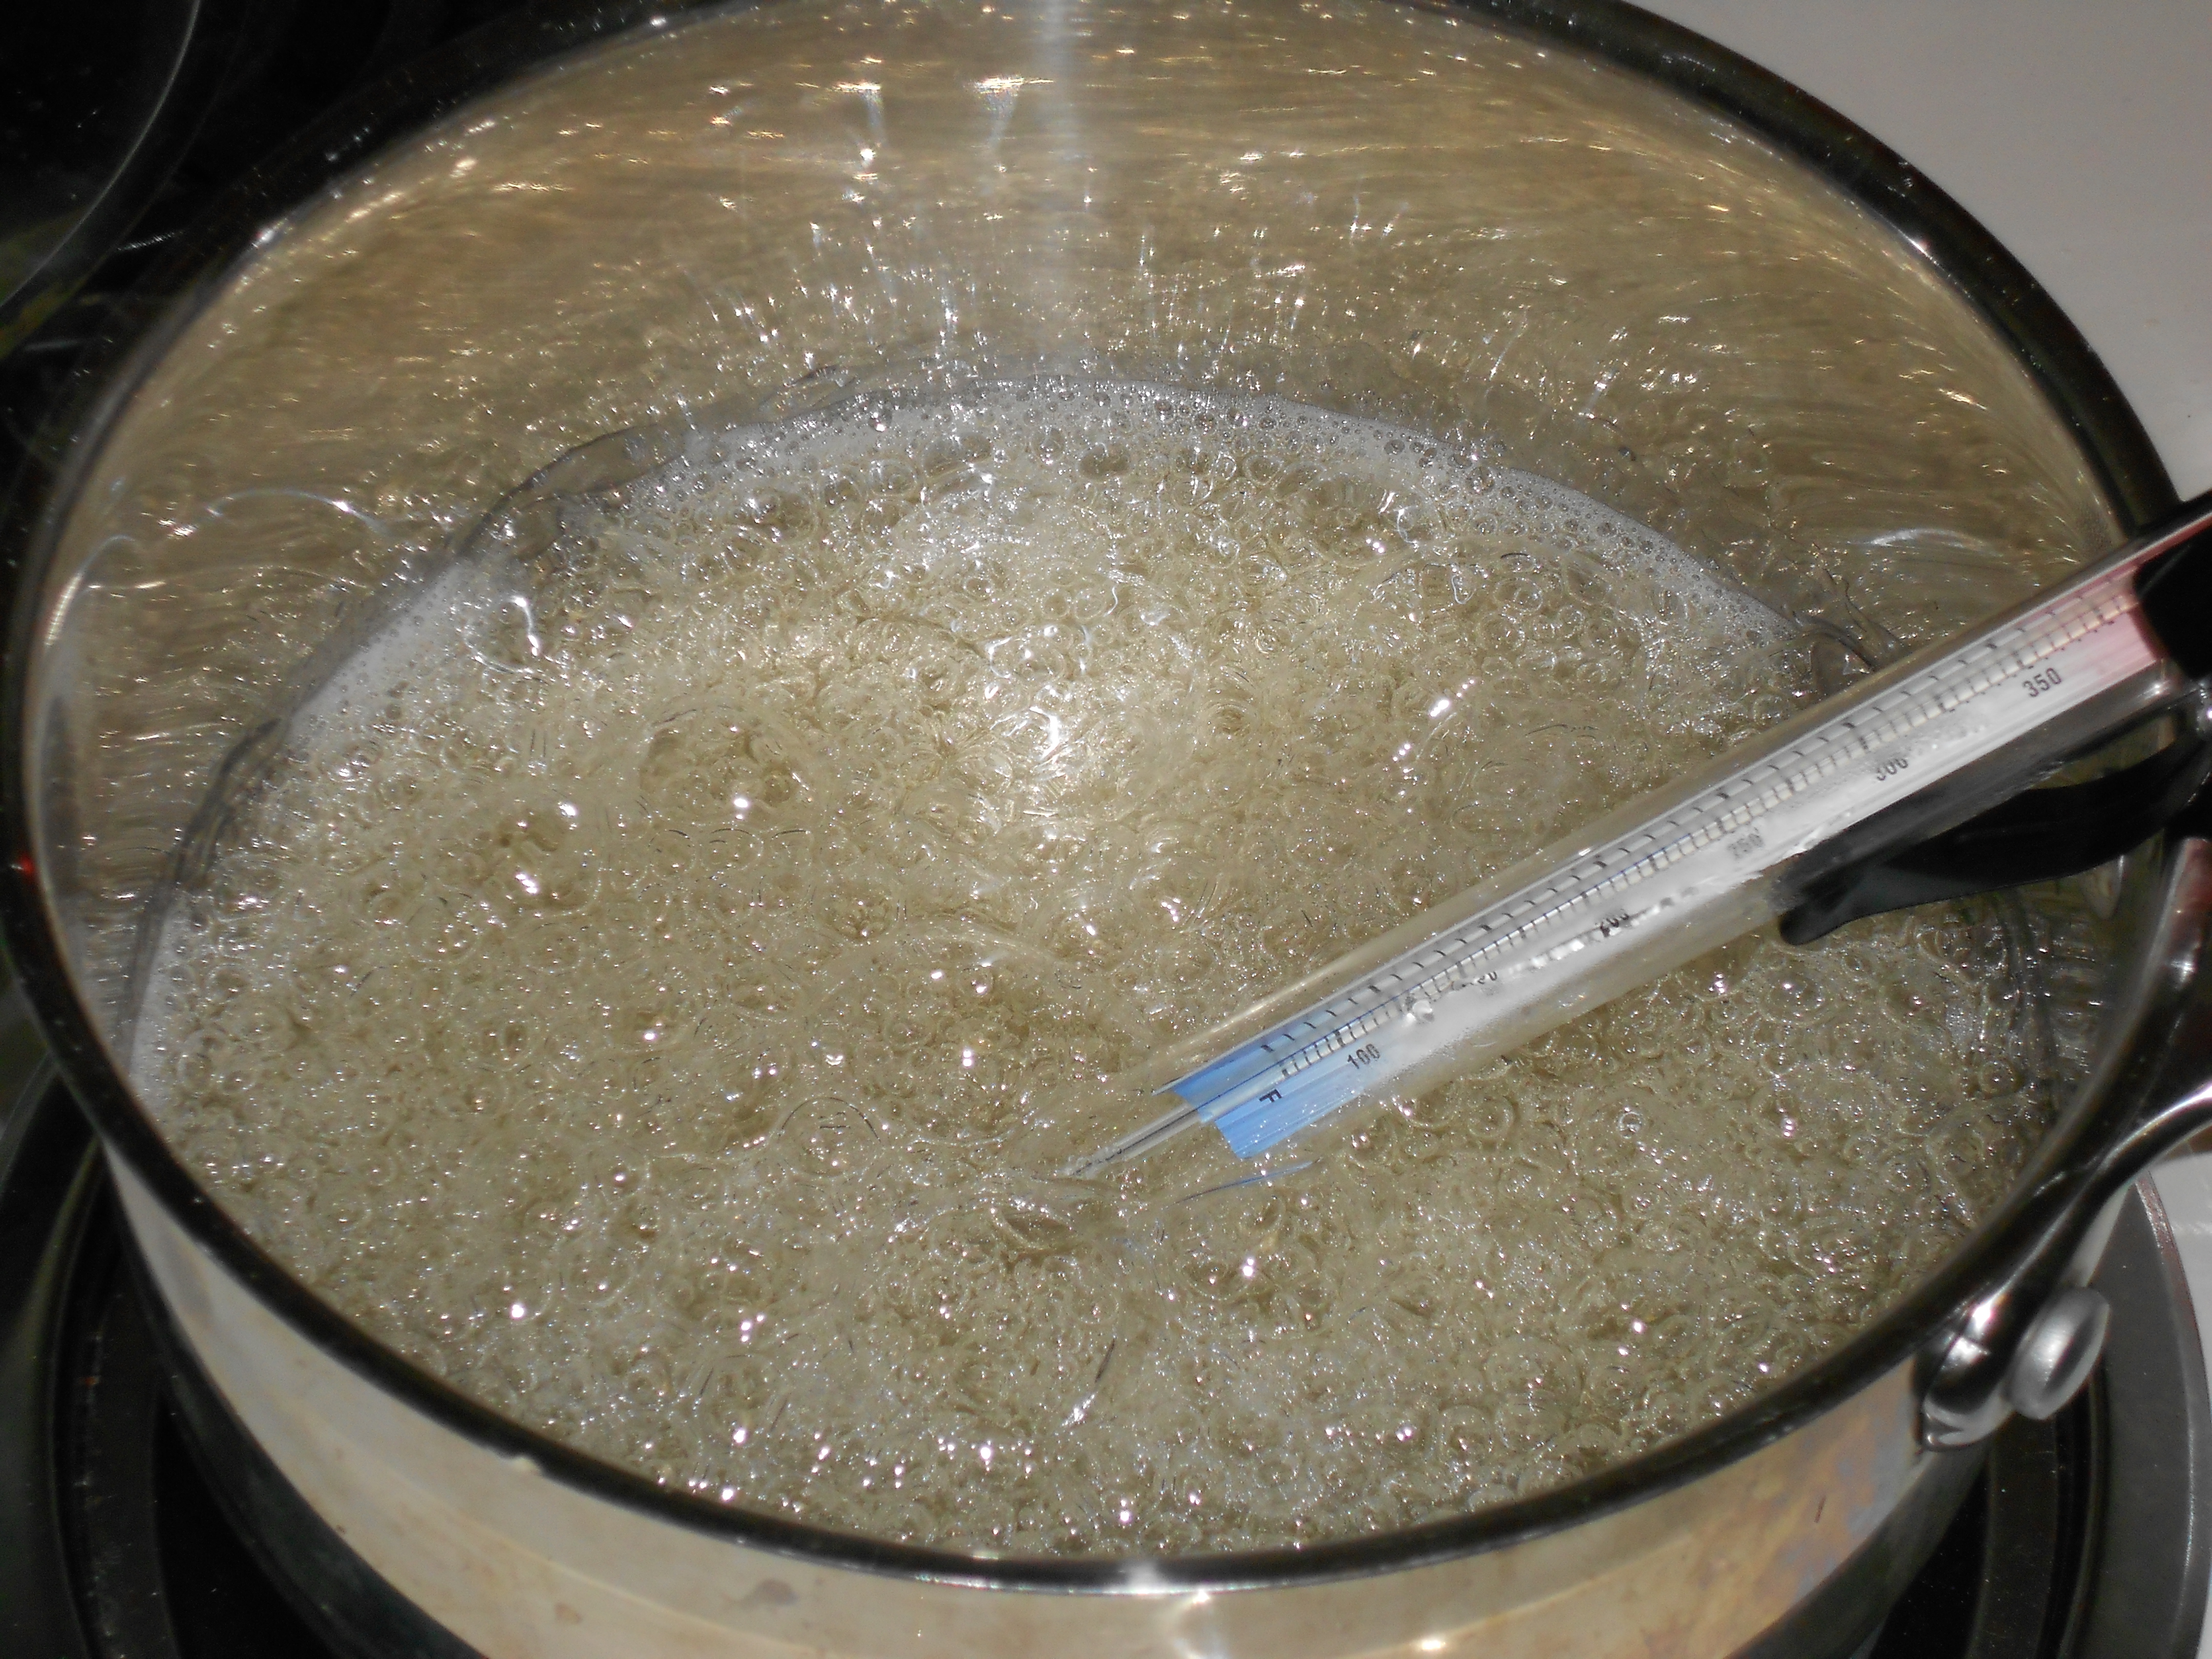
The recipe I used reminded me of my White Mountain Frosting debacle because there is a similar technique of combining corn syrup, water, and sugar in a saucepan and heating to 240 degrees.  While a little labor and time intensive, I was happy to learn that making marshmallows was not difficult.

Additionally, these were a tremendous crowd pleaser.  There’s something about a fresh marshmallow that will make your day that much better!  These are definitely worth the time and effort! (by the way, these have “dry out” overnight, so make sure you budget your time)

Valentine Marshmallows

Yields 20-40 marshmallows depending on size, adapted from Ina Garten

Ingredients

  • 3 packets of unflavored gelatin
  • 1 cup light corn syrup
  • 1 ½ cups granulated sugar
  • 1 tsp vanilla extract
  • ¼ tsp salt
  • red food color gel (optional)
  • powdered sugar for dusting
  • 1 cup semi-sweet chocolate chips
  • 1 cup white chocolate chips

Method

  1. Prepare a 9 x 13 brownie pan with parchment and dust the bottom with powdered sugar.
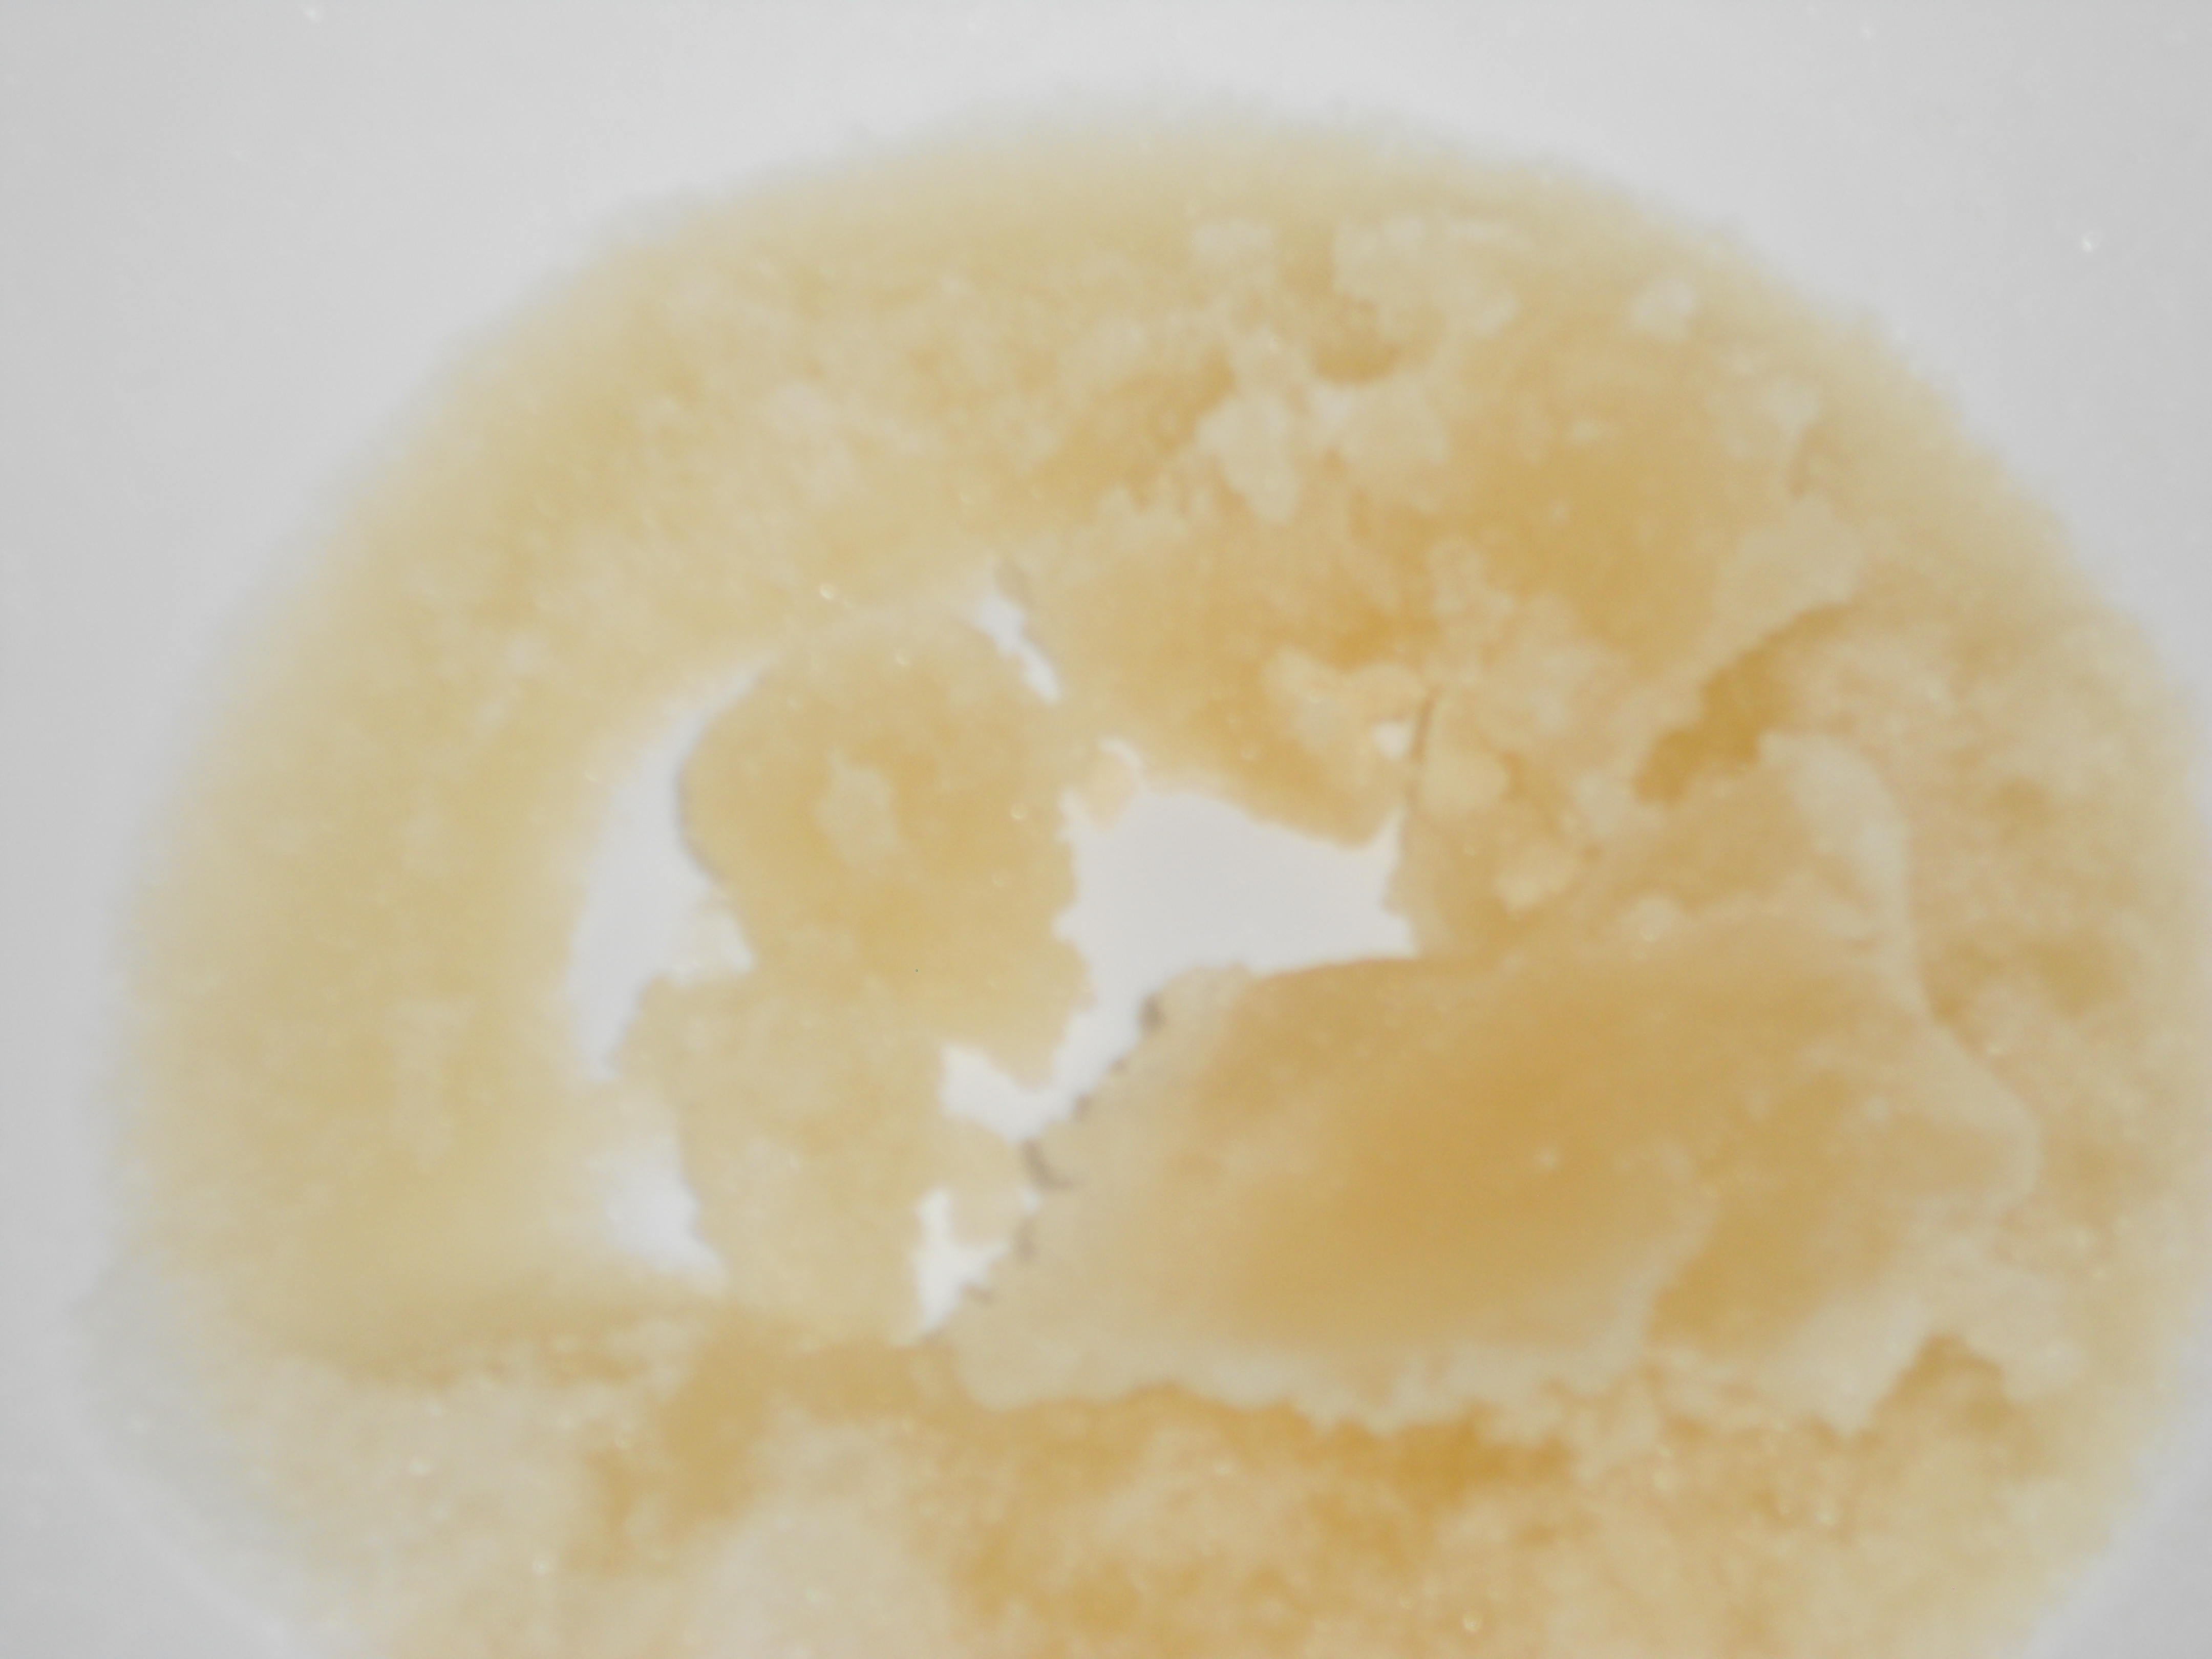
  2. In a mixing bowl combine the gelatin with a ½ cup of water.  Allow the gelatin to “bloom” (I think it’s called) while you cook the other mixture.  Some recipes recommend a full half hour.gelatin blooming
  3. In a saucepan over medium heat, combine the corn syrup, sugar, and a half cup of water. After the sugar melts, turn the heat up to high, and cook until it reaches 240 degrees (use a candy thermometer).sauce pan
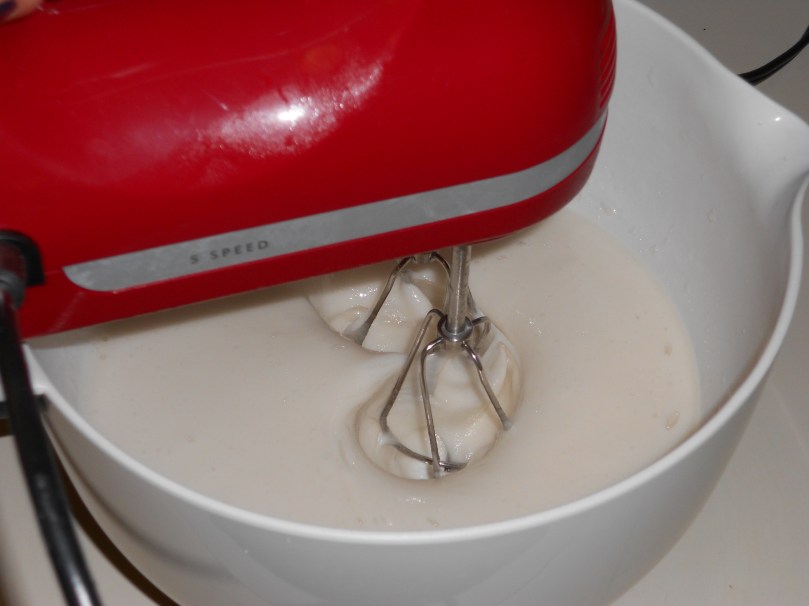
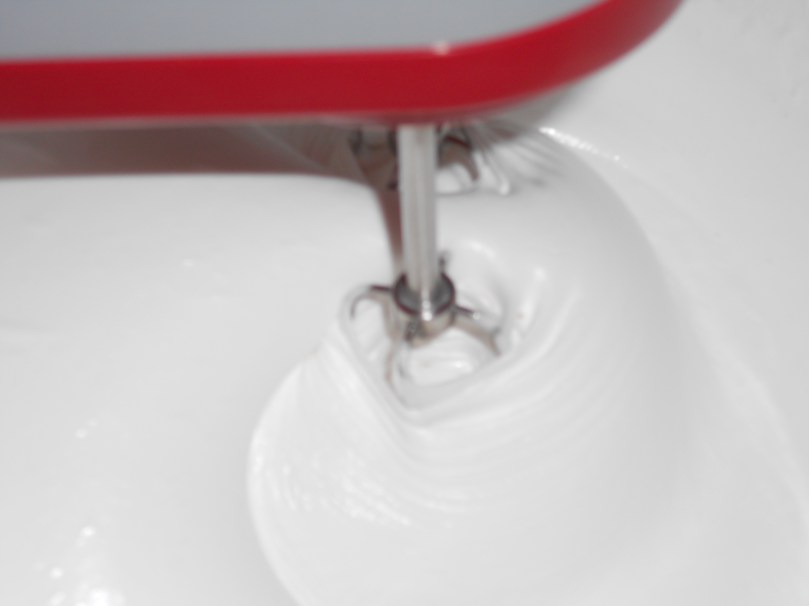
  4. Once the mixture has reached the correct temperature, remove from heat.  Use an electric hand or stand mixer to mix the gelatin on low as you pour in the warm mixture in very slowly.  Once the mixture has been completely poured in, mix it on high for about 15 minutes until the “fluff” is pretty thick.after 5 minutesafter 15 minutes
  5. Add vanilla, salt, and food coloring and mix until well distributed.now it's pink!
  6. Pour the batter into the prepared pan and use a spatula smooth it out.  This process will be a little sticky and difficult, but you will persevere.
  7. Dust the top of the fluff with powdered sugar (it is easy if you pass it through a sifter).  Allow the fluff to “dry out” overnight.setting overnight
  8. The next day, lift the large marshmallow out of the pan and place on a cutting board.  Use a knife or a cookie cutter to cut out the marshmallows. what to do with the scraps?looking good
  9. Microwave the semi-sweet chocolate chips for 30 seconds at a time until mostly melted.  Use a fork to stir the chocolate until smooth. Dip the marshmallows in the chocolate, and allow to dry.
  10. Microwave the white chocolate similarly and place in a pastry bag with a fine tip or a Ziplock bag with a small corner snipped off.  Once the semi-sweet chocolate has set, use the white chocolate to drizzle a design on top of the layer of chocolate.so pretty!
  11. Allow to set at room temperature or place in the freezer to speed up the process.  Enjoy!

Keeping It Cool

I have a little bit of an internal conflict going on right now.  It’s summer time right now, so when it gets hot, who wants to turn on the oven, right?  You’re not looking for extra heat in the kitchen.  And frankly, why bake something sweet when you can just hit the ice cream stand down the road?

I love no bake dessert options, but sometimes it makes me uneasy that something so good could be so easy.  I spend the rest of the year slaving over baked goods with multiple steps and several ingredients, and all of sudden I can combine 3-4 ingredients, throw them in the fridge for an hour, and I have an irresistible dessert.  It makes my typical effort seem completely unnecessary.

These are the stupid things that stress me out…

Anyway, here’s to less thinking, fewer ingredients, and a cool solution for a great summer treat:

No Bake Peanut Butter Bars

yields 16-20 bars depending on th size you slice, from Bakerlady

Ingredients

  • 1 cup melted butter (2 sticks)
  • 2 cups graham cracker crumbs
  • 1 cup + 4 Tbs Peanut Butter (smooth or chunky)
  • 2 cups powdered sugar
  • 1 1/2 cups semi-sweet chocolate chips or one bag (12 oz) which is probably closer to 2 cups

Method

  1. Line a 9 x 13 baking pan with parchment.
  2. Combine melted butter, crumbs, sugar, and 1 cup of peanut butter in a bowl.  Mix until the dough is a uniform sandy mixture.
  3. Press mixture evenly into the parchment lined pan.  Spread out with an offset spatula if you have one.
  4. Melt the chocolate chips with the 4 Tbs left of peanut butter.  I typically microwave it for 30 sec at a time until mostly melted then I stir until every chip is melted.
  5. Spread the melted chocolate and peanut butter on top of the peanut butter and crumb mixture.  Again, smooth with an offset spatula.
  6. Allow to cool, slice, and enjoy! (if you cool in a fridge, allow the pan to warm up slightly before trying to slice, otherwise it will be difficult to cut, and likely break into pieces)